ESP32를 이용하여 SG90 서보 모터를 제어하는 프로그램 개발 기록이다.
개발 환경과 서보 연결
개발 환경 설정은 아래 글에 설명되어 있다.
'개발 환경 설정 (1) ESP32 프로그램 개발' 읽어보기 >
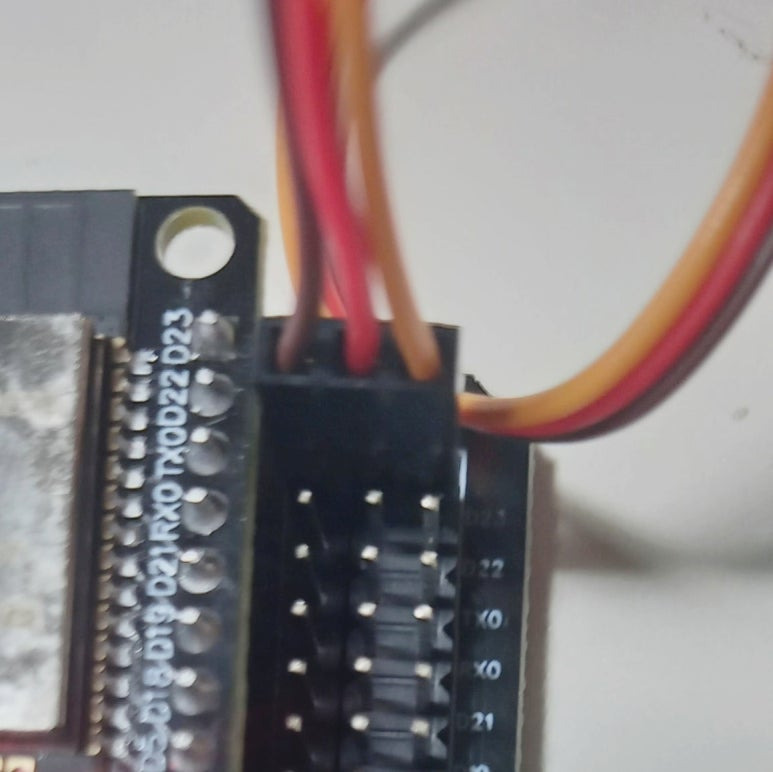
SG90 서보는 다음 사진과 같이 23번 포트에 연결한다. 예는 우노 타입 확장 보드 실드를 사용해서 서보의 G, V, S 선을 쉽게 연결할 수 있다.

1 서보 제어를 위한 ESP32Servo 라이브러리 추가
- ESP32 Dev Module 보드와 USB를 연결한다.

- 아두이노 IDE에 서보 제어를 위한 ESP32Servo 라이브러리를 추가한다('도구 > 라이브러리 관리' 선택).
- 'ESP32servo'로 라이브러리 검색 후, 설치한다.

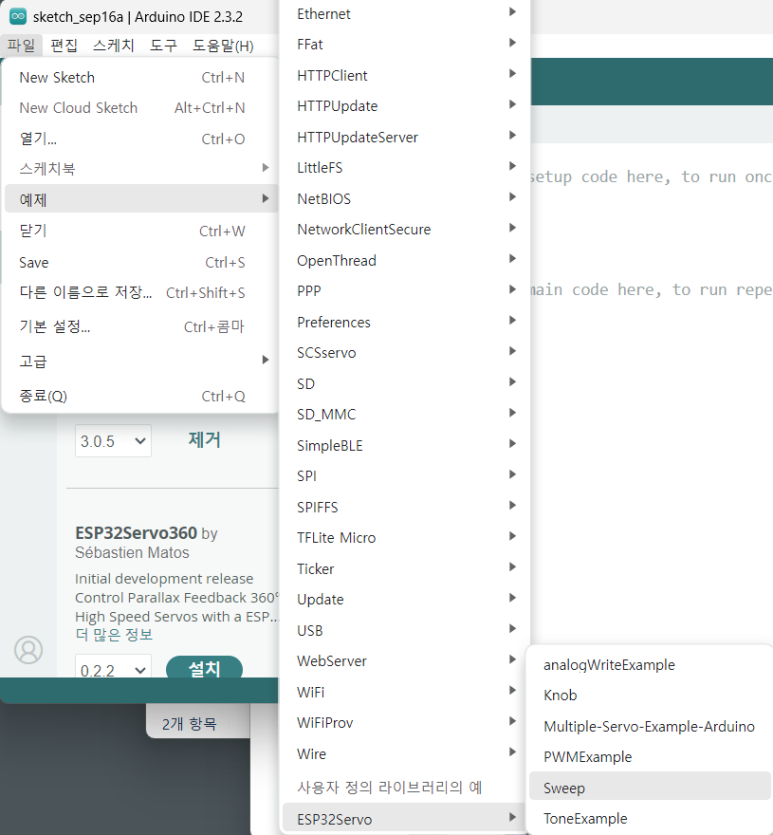
2 서보 제어 예제 프로그램
- '파일 > 예제 > ESP32Servo > Sweep' 예제를 선택한다.
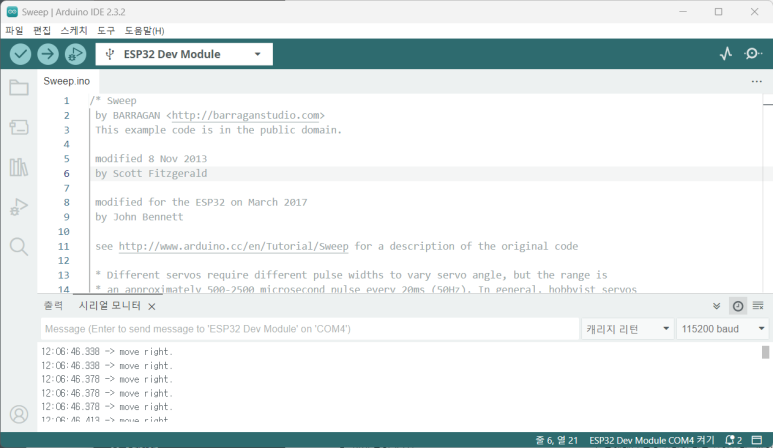
다음은 Sweep 예제 코드이다.
- int servoPin = 23; 서보 연결 핀 번호 23
- myservo.setPeriodHertz(주기); 서보 PWM 주기, sg90은 50 hz
- myservo.attach(핀번호, 펄스폭, 최대펄스폭); sg90은 500㎲ ~ 2400㎲
- myservo.write(각도); 각도로 회전

- 시리얼 모니터 출력을 위해 코드를 추가하였다.
/* Sweep
 by BARRAGAN <http://barraganstudio.com>
 modified 8 Nov 2013 by Scott Fitzgerald
 modified for the ESP32 on March 2017 by John Bennett
 modified for print status to serial window in Arduino IDE on Sep 2024 by Namchul Do
 */

#include <ESP32Servo.h>

Servo myservo;  // create servo object to control a servo
// 16 servo objects can be created on the ESP32

int pos = 0;    // variable to store the servo position
// Recommended PWM GPIO pins on the ESP32 include 2,4,12-19,21-23,25-27,32-33
// Possible PWM GPIO pins on the ESP32-S2: 0(used by on-board button),1-17,18(used by on-board LED),19-21,26,33-42
// Possible PWM GPIO pins on the ESP32-S3: 0(used by on-board button),1-21,35-45,47,48(used by on-board LED)
// Possible PWM GPIO pins on the ESP32-C3: 0(used by on-board button),1-7,8(used by on-board LED),9-10,18-21
#if defined(CONFIG_IDF_TARGET_ESP32S2) || defined(CONFIG_IDF_TARGET_ESP32S3)
# int servoPin = 23;
#elif defined(CONFIG_IDF_TARGET_ESP32C3)
# int servoPin = 7;
#else
int servoPin = 23;
#endif

void setup() {
	// Allow allocation of all timers
	ESP32PWM::allocateTimer(0);
	ESP32PWM::allocateTimer(1);
	ESP32PWM::allocateTimer(2);
	ESP32PWM::allocateTimer(3);
	myservo.setPeriodHertz(50);    // standard 50 hz servo
	myservo.attach(servoPin, 1000, 2000); // attaches the servo on pin 18 to the servo object
	// using default min/max of 1000us and 2000us
	// different servos may require different min/max settings
	// for an accurate 0 to 180 sweep
  Serial.begin(115200);
}

void loop() {

	for (pos = 0; pos <= 180; pos += 1) { // goes from 0 degrees to 180 degrees
		// in steps of 1 degree
		myservo.write(pos);    // tell servo to go to position in variable 'pos'
		delay(15);             // waits 15ms for the servo to reach the position
    Serial.print("move left.\n");
	}
	for (pos = 180; pos >= 0; pos -= 1) { // goes from 180 degrees to 0 degrees
		myservo.write(pos);    // tell servo to go to position in variable 'pos'
		delay(15);             // waits 15ms for the servo to reach the position
    Serial.print("move right.\n");
	}
}
3 실행
- Upload를 선택한다.

- 시리얼 모니터에 현재 진행 상황 출력
- 서보 모터가 동작한다.
2024 NDoLab
2024/9/16 처음 2024/9/16
systems/trip/esp32/esp32servotest01.ino
728x90
'스마트커넥티드 > ESP32' 카테고리의 다른 글
| XIAO ESP32-S3 sense에서 AI 모델 구동하기 (1) AI CAM 응용 (0) | 2025.09.16 |
|---|---|
| 웹을 이용한 원격 서보 동작 (5) ESP32 프로그램 개발 (0) | 2025.09.16 |
| 와이파이를 이용한 웹 서버 운영 (4) ESP32 프로그램 개발 (0) | 2025.09.16 |
| Hello world 프로그램 (2) ESP32 프로그램 개발 (0) | 2025.09.16 |
| 개발 환경 설정 (1) ESP32 ESP-WROOM-32 프로그램 개발 (0) | 2025.09.06 |


